
Five photos. That's all we need.
Snap them on your phone, upload them below, and we'll confirm your $149.99 hook-up and book your appointment — usually within 1 business day. No site visit, no waiting around.
This page is for connecting an appliance to an existing gas line. Need a brand-new gas line run to your yard or patio? Get a new line quote instead →
Instead of booking a site visit just to look at your setup, we quote from photos — it's faster for you and keeps the price at $149.99. The five photos below show us everything we need: your appliance, your gas line, and the distance between them. Grab your phone, walk through the five steps, and snap each one as you go — most people are done in under five minutes. When you've got all five, upload them in the form at the bottom of this page and we'll take it from there.
Your appliance
1
Stand back and get the whole thing in frame — BBQ, fire table, patio heater, gas fireplace, or gas range. This tells us exactly what fittings to bring, and we'll flag it upfront if anything extra is needed.
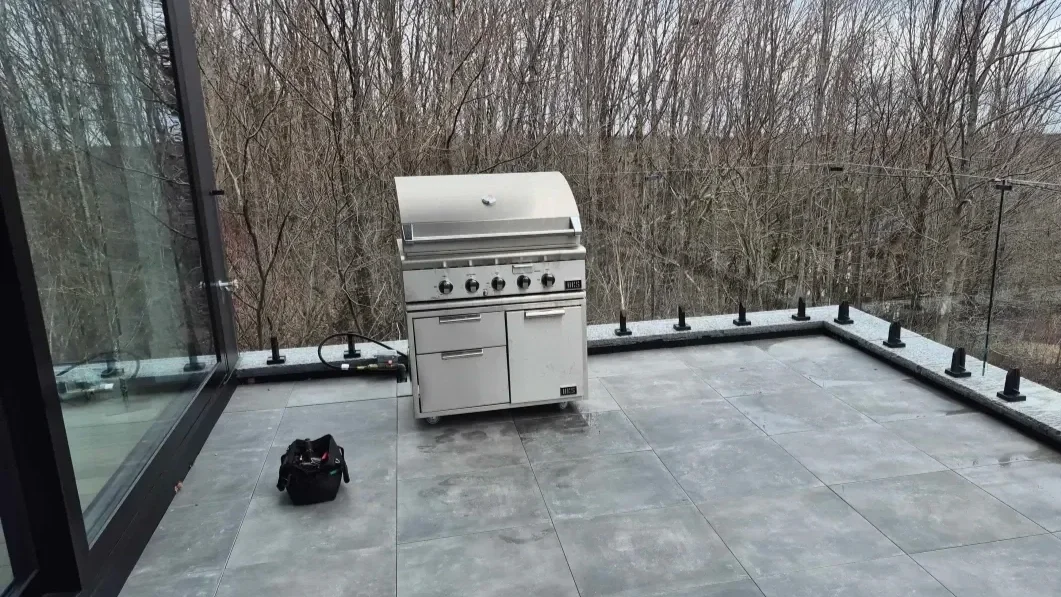
Like this — one casual photo, whole appliance in frame

We hook up all of these — and more.
The hose stamp — or rating plate
2
If your appliance came with a hose, photograph the size printed on it — usually 3/4", 1/2", or 3/8". No hose? Photograph the rating plate instead: the metal tag or sticker with the model and BTU numbers.
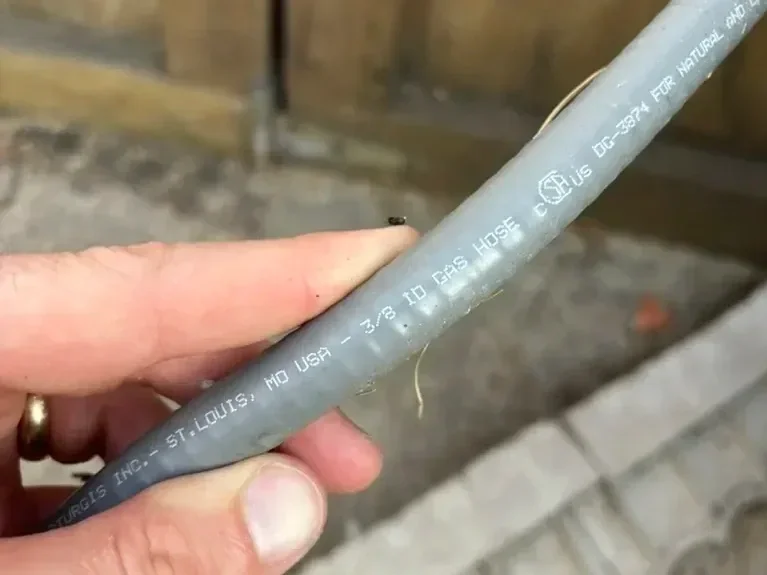
Hose
OR
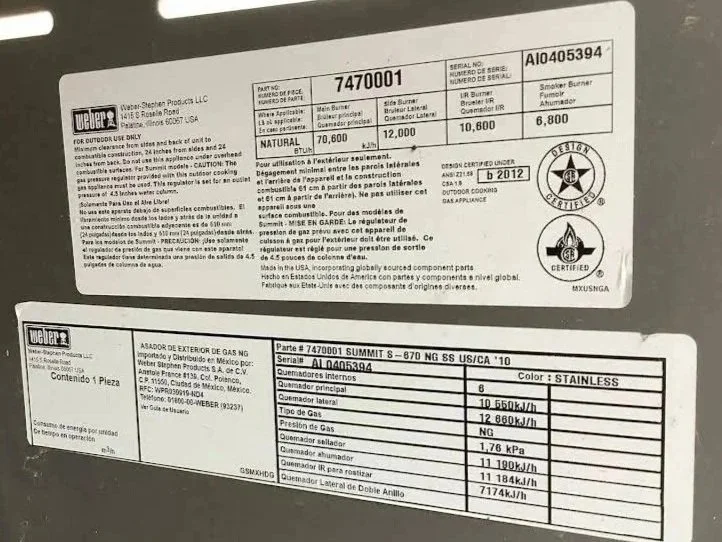
Rating plate
Can't find either? Rotate the hose or check behind the drawer — a flashlight photo works fine.
3. Your gas line connection point
3
Find the gas pipe coming out of your wall, deck, or floor — it usually ends in a cap or a valve. Step back a little and photograph the pipe with some of its surroundings. We're checking one thing especially: whether there's already a shutoff valve. If there isn't, we'll add one during your hookup and include it in your quote.
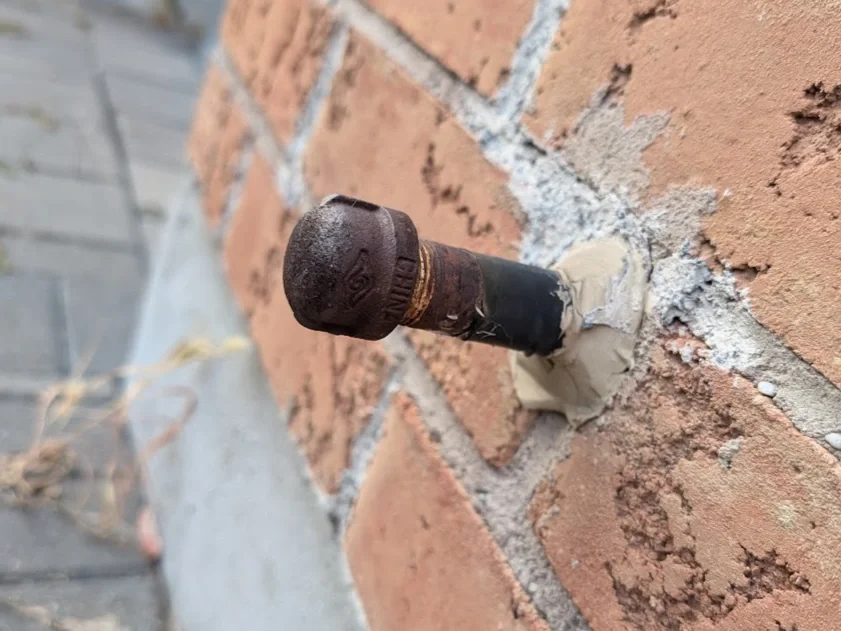
No shutoff valve
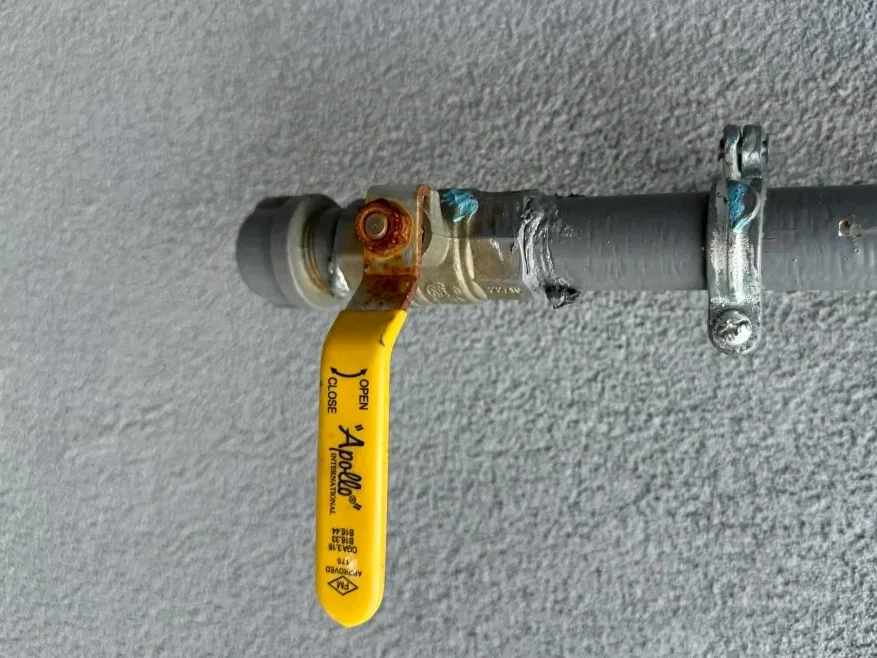
Has a shutoff valve
Yours may look different — photograph whatever's there.
Your gas line's size
4
Take a quick look at the metal fittings on your line — an elbow, tee, or cap — for a stamped size like 3/4", 1/2", or 3/8". See it? Photograph it. No stamp after a quick look? Totally normal on older lines — just hold a coin against the pipe and take a close-up instead. We can work out the size from that.
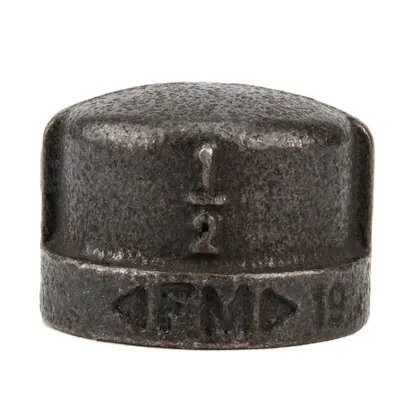
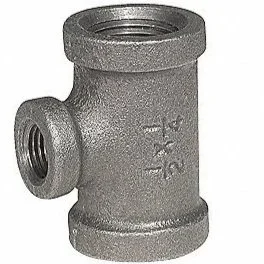
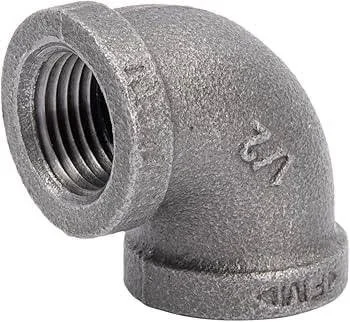
Either photo works. Don't spend more than a minute on this one.
Roughly how far will the appliance be from your gas line?
5
Stand back and get two things into one frame: your gas line connection point, and the spot where you want the appliance. We're looking at the distance and what's in between — a short, clear run just needs the right hose, while a longer run or one that has to get past stairs, railings, or doorways may need the line extended. Either way, your quote will say so before we book anything.
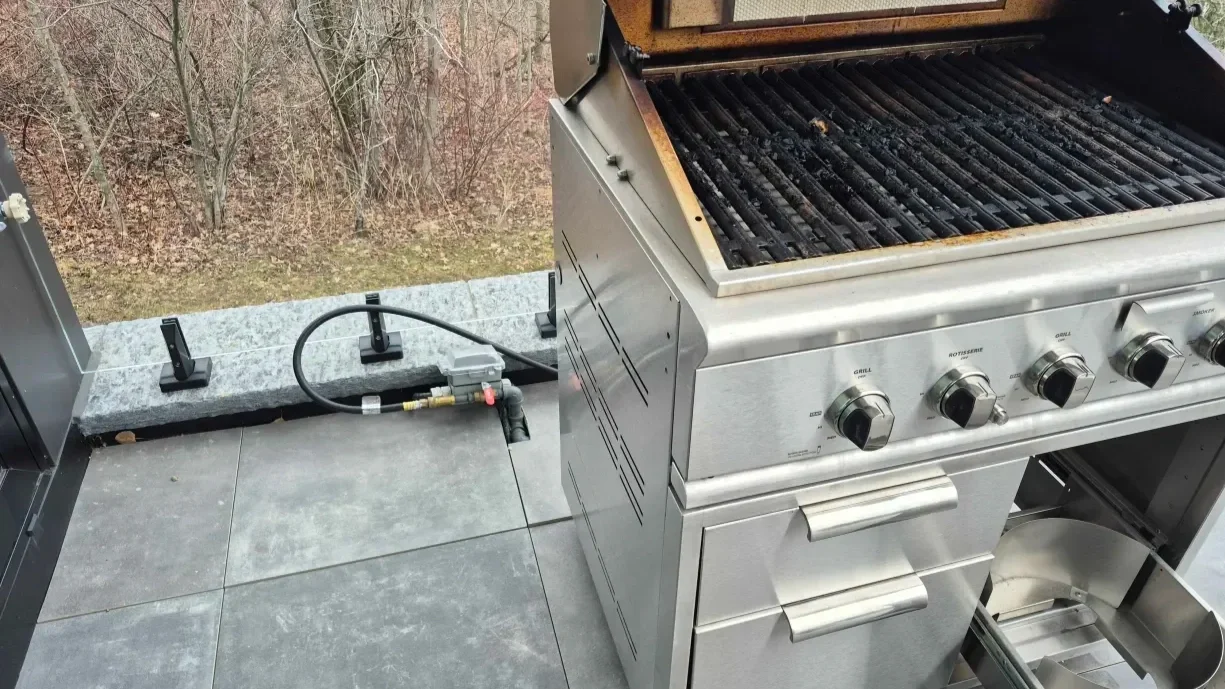
Can't fit both in one frame? Stand at the gas line and shoot toward the spot. And photograph it exactly as it is — don't move or tidy anything, we need to see what's really there.
Have your 5 photos? You're about two minutes from booked. Couldn't get them all — or any? Send the form anyway. Photos just mean we can confirm your exact price and appointment right away; without them, we'll usually need a call or a visit first.